Crochet bandana for your pet
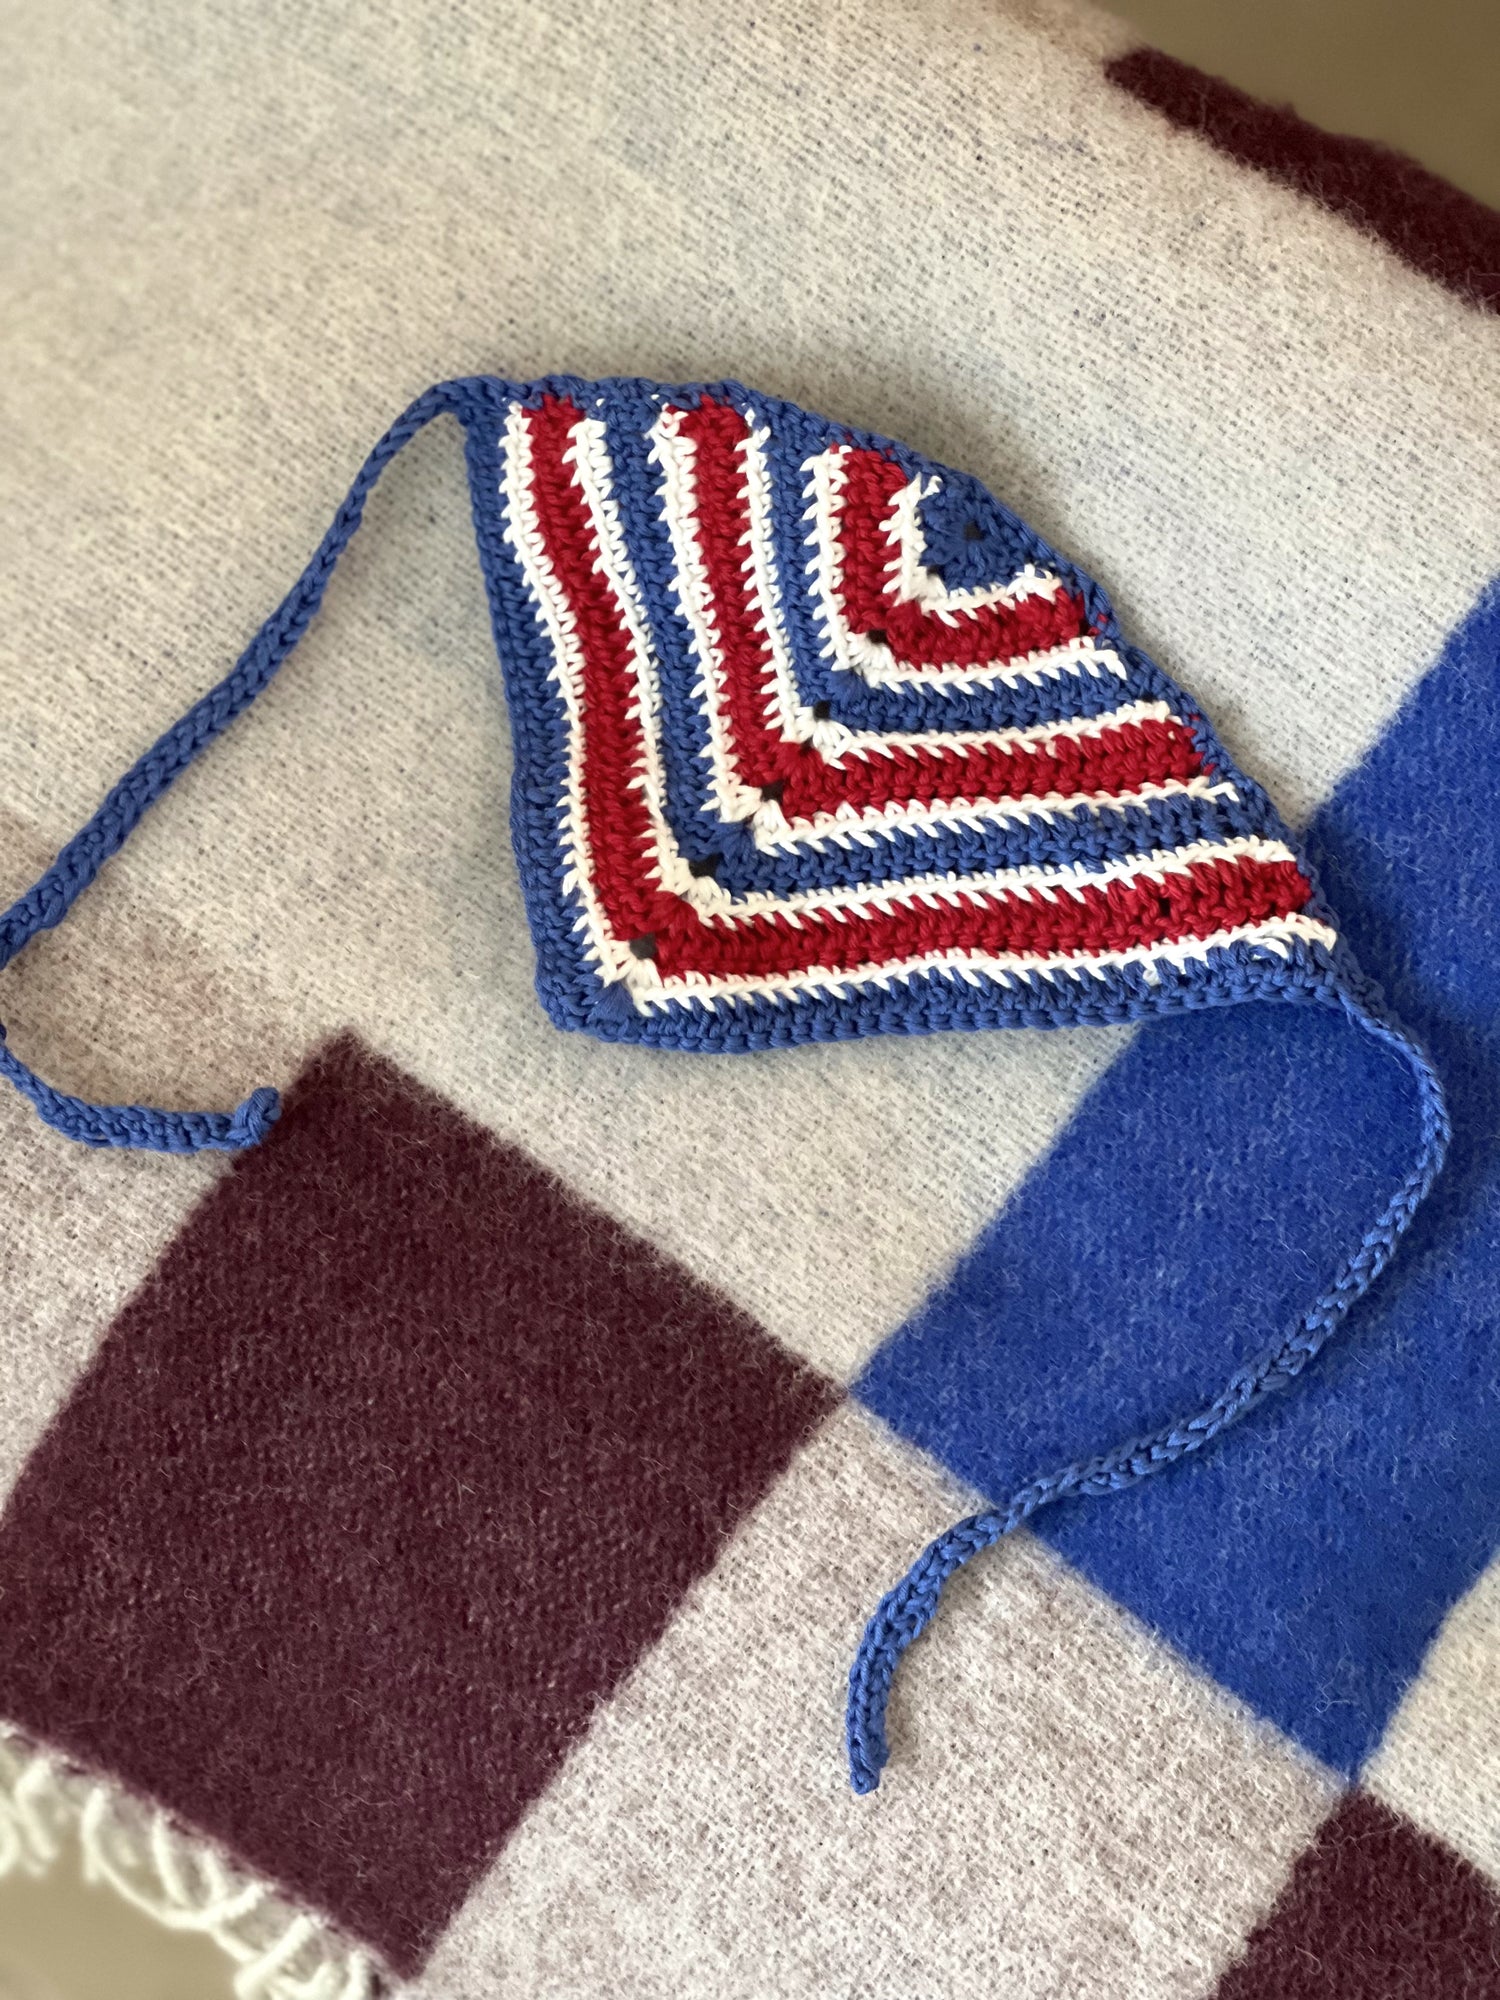
Need some ideas for a small, easy project to make? This multi-colored bandana is easy to make and can be crocheted in one sitting or a couple of days, depending on your level of experience and the time you dedicate to the project.
This is how Marcel's looks
 |

|
Materials
To make the bandana you will need:
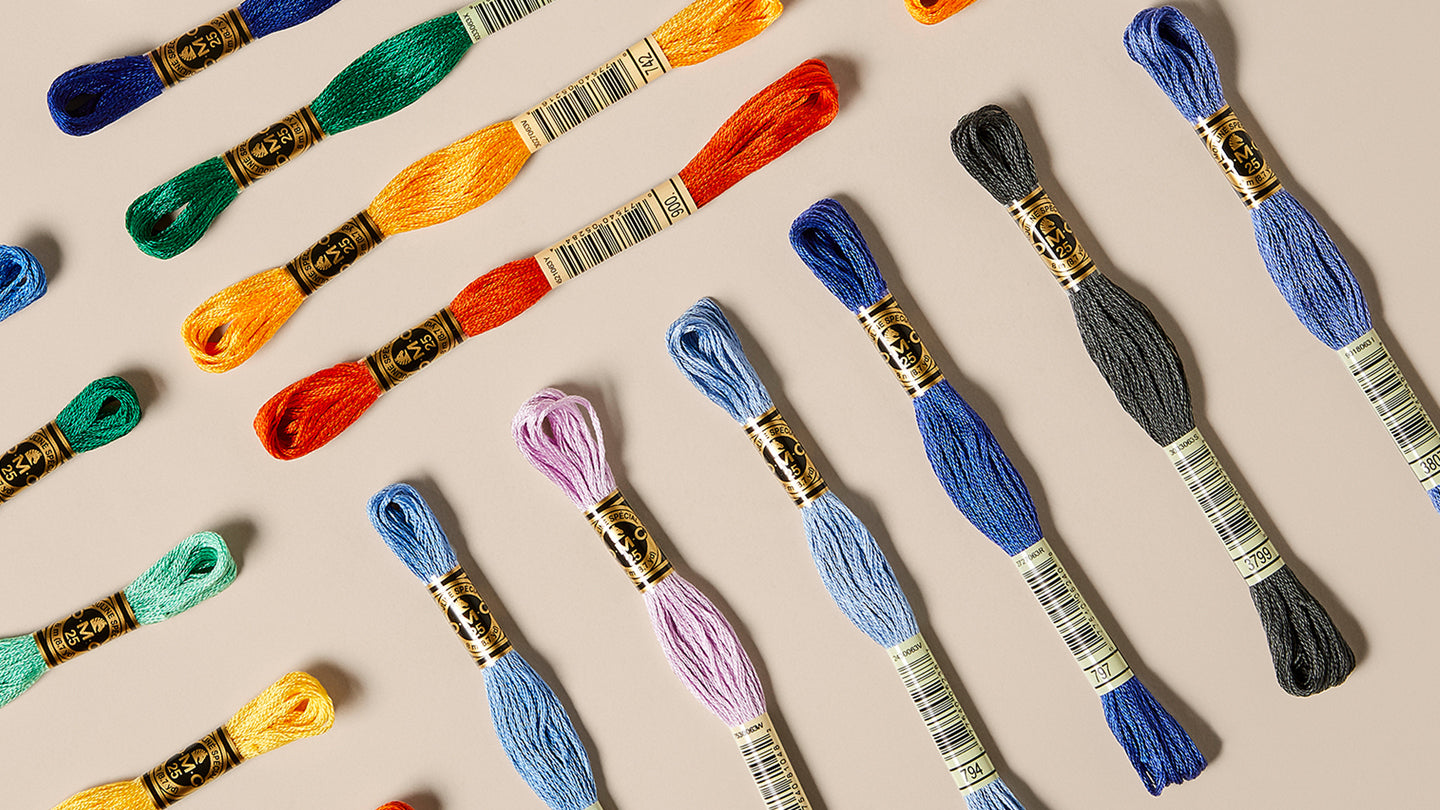
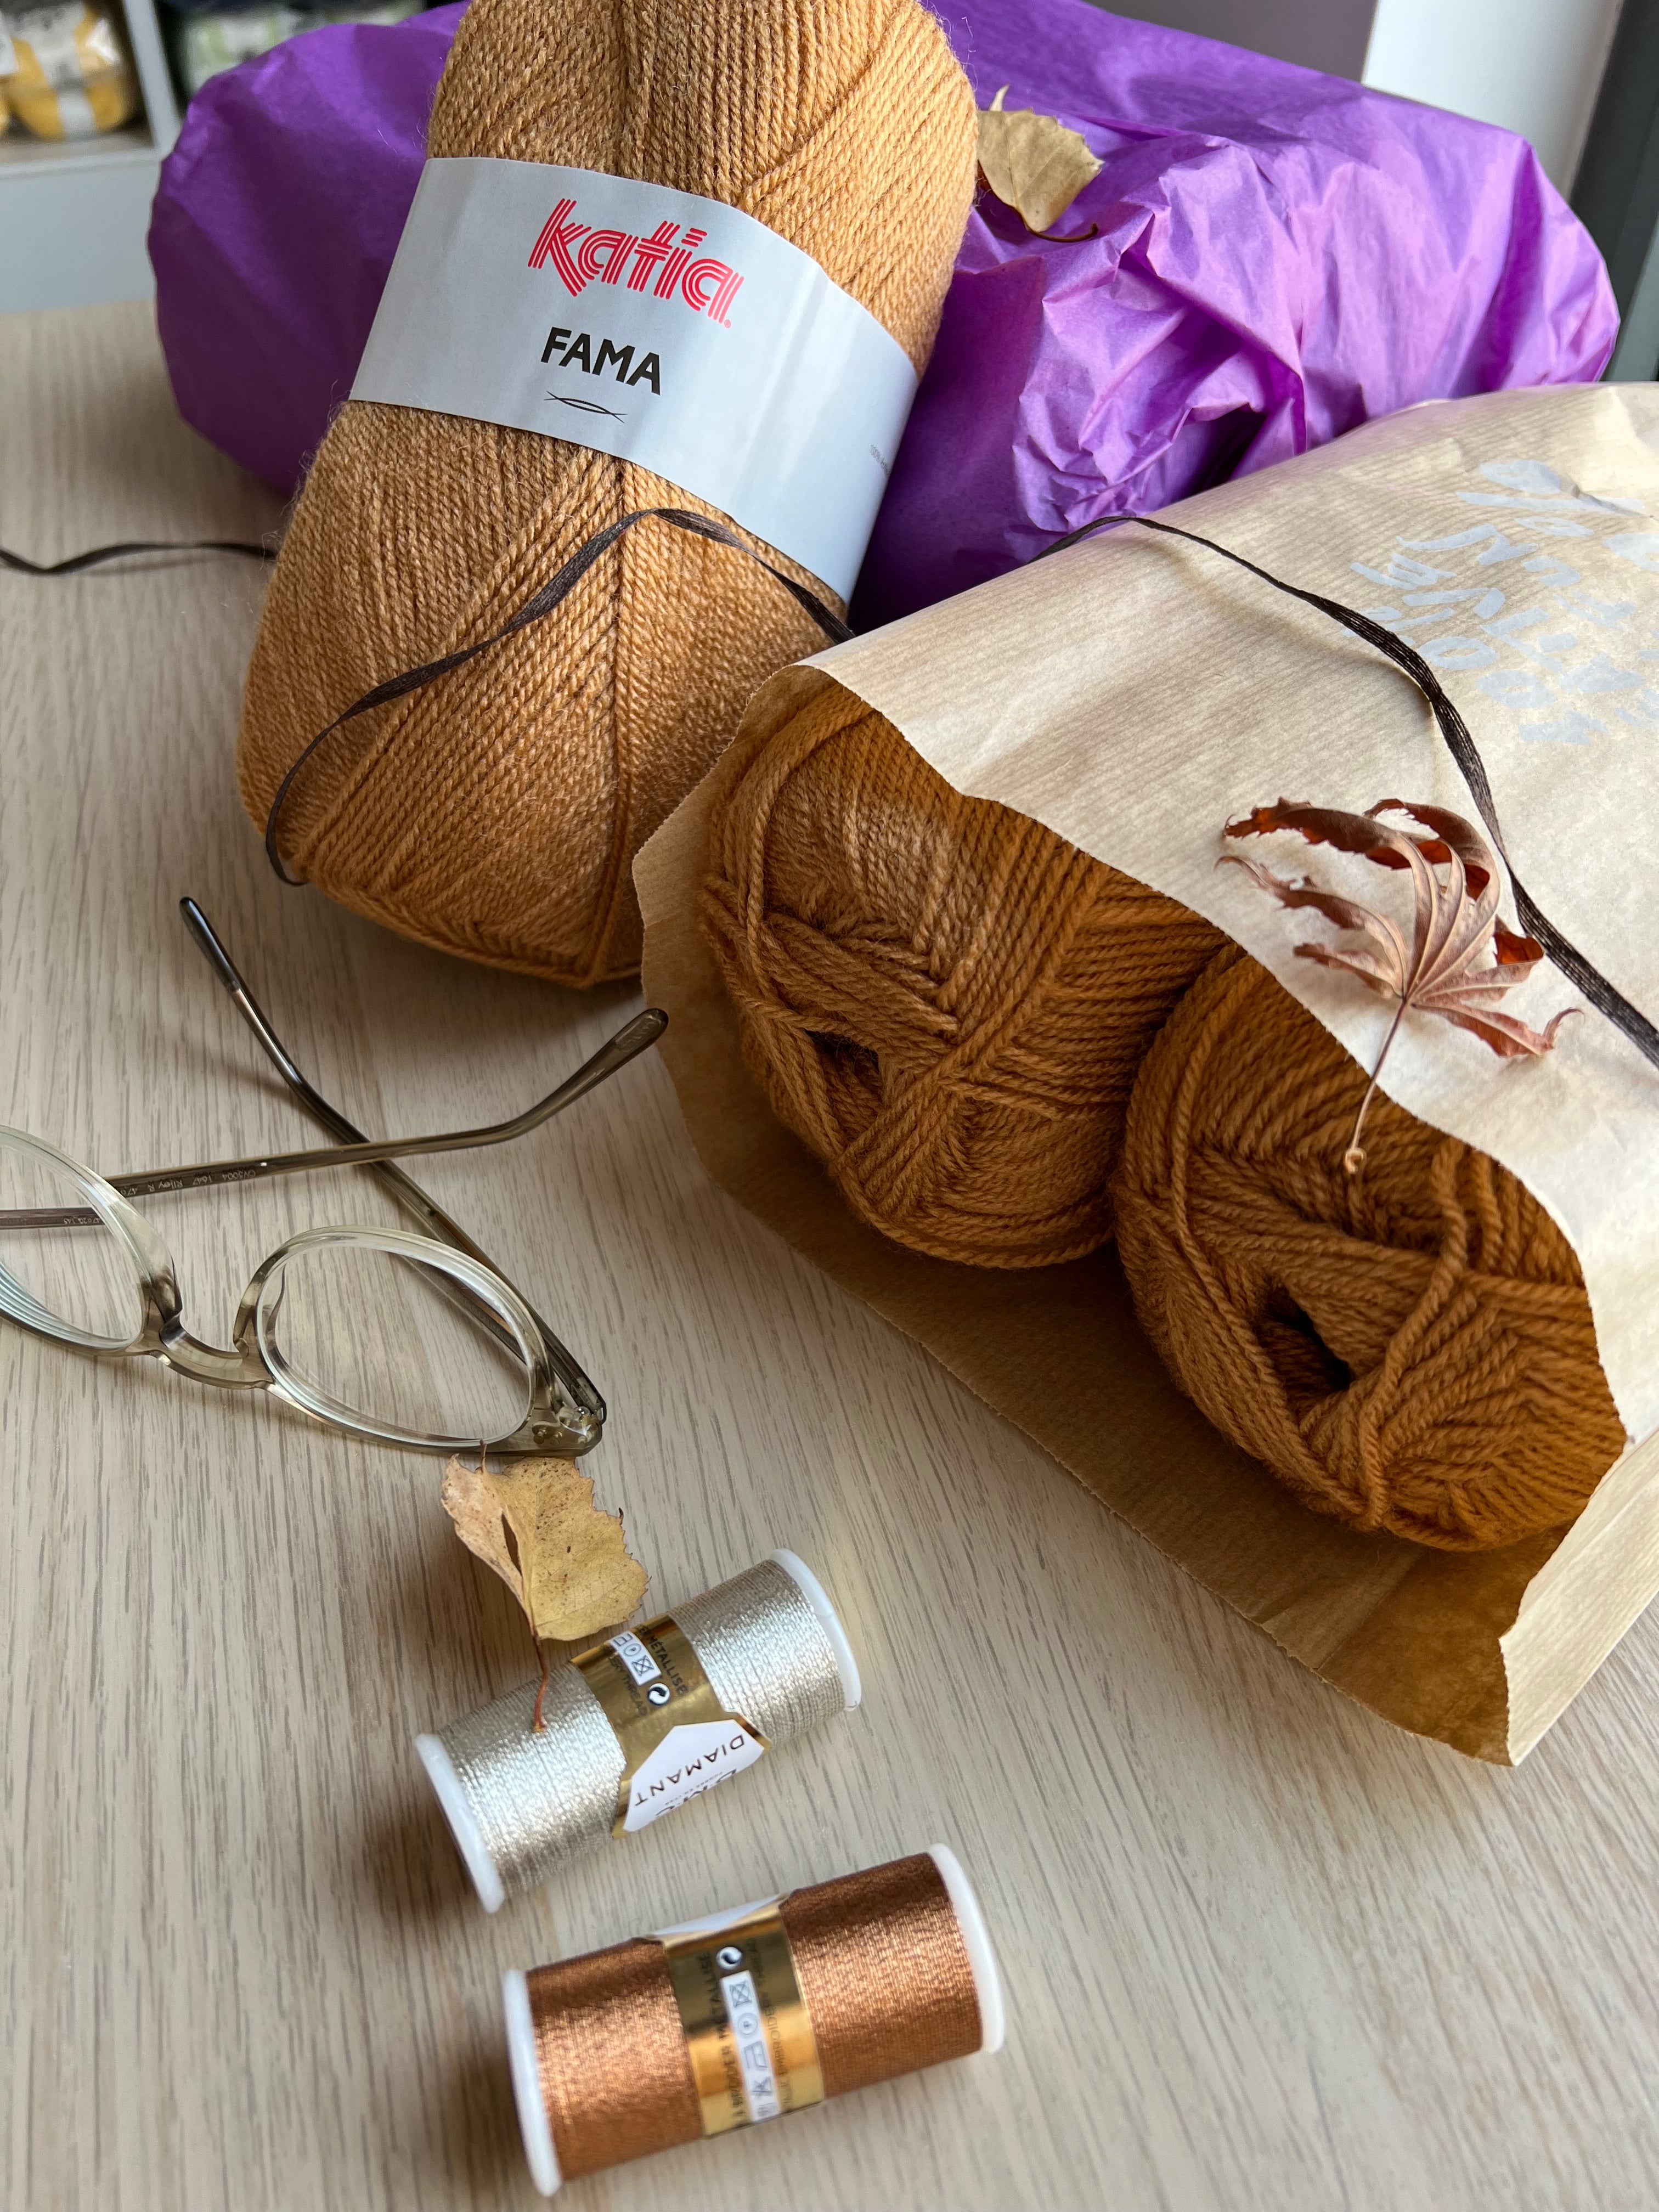
- Cotton thread or any other composition you prefer. I used DMC Natura Cotton in color 112 and Happy Cotton in colors 761 and 791 .
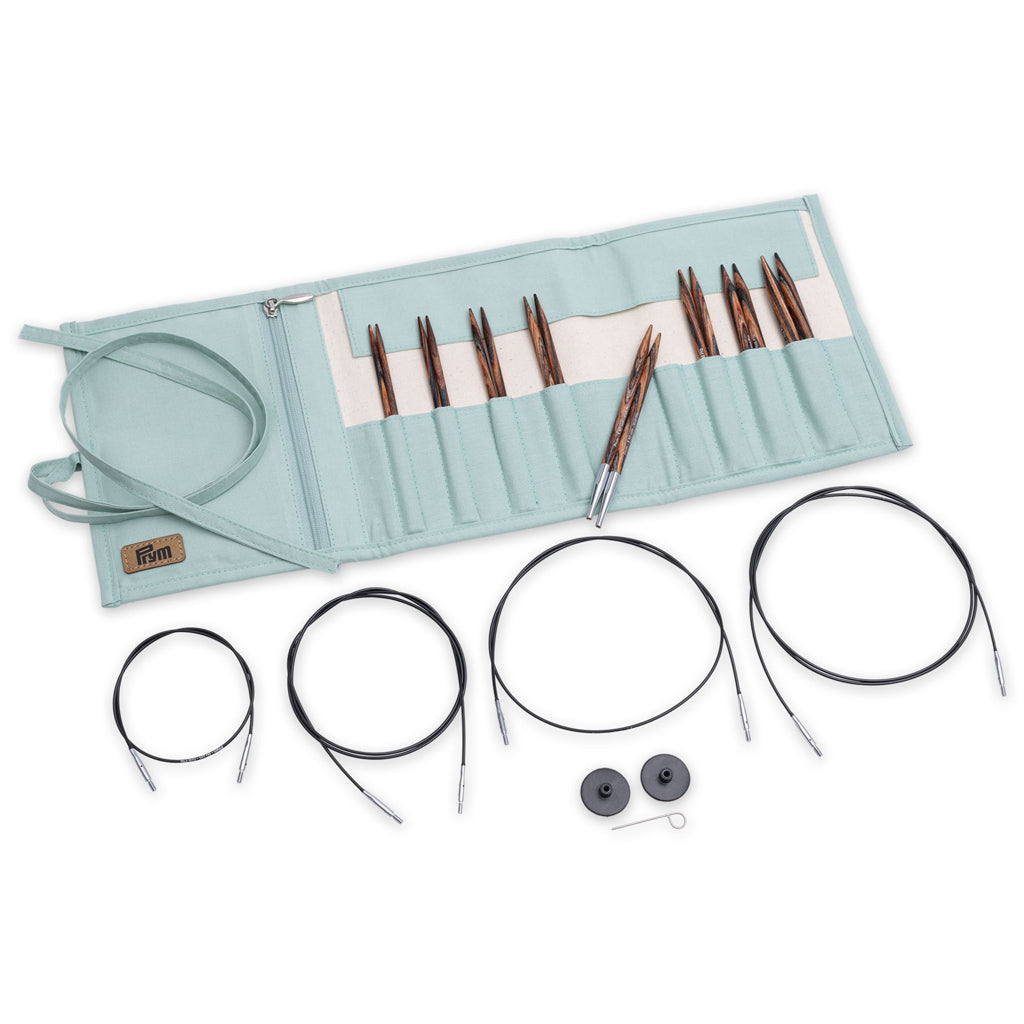
- A 3mm crochet hook. I used the nº3 from this Prym set
- A pair of scissors .
- Wool needle to finish off ends, although you can hide them as you knit.
Steps
Start your work
- Cut a long piece of thread (about the length of your arm) and set it aside. You will use it for one of the loops.
- Using the blue thread, make a slip knot to insert the hook and make 4 chains . Close the circle with a slip stitch in the first chain.
First Round
- Make three chains going up.
- Crochet four double crochet stitches inside the initial circle that you previously closed with the slip stitch.
- Make two chain stitches . This will create a gap and give the work its triangle shape.
- Crochet five more double crochets inside the circle.
This should result in a small triangle. You can now cut the thread leaving enough tail to fasten off or attach while you continue knitting.
Second Round
- Turn the work over. Attach the white yarn. Make a chain stitch and a single crochet in the same stitch.
- Crochet a single crochet with white in each blue stitch until you reach the gap left by the two chains from the previous row.
- Inside that gap, crochet two single crochets + two chains + two single crochets.
- Finish by working a single crochet into each subsequent stitch until you reach the end of the round. When you have only one stitch left to work, work two single crochets into that last stitch to make an increase.
- Cut the thread, leaving a tail to finish off, turn the work over and change color.
Third Round
- Insert the red thread. Make three chains and a double crochet in the same stitch.
- Crochet a double crochet in each of the following stitches until you reach the chain space from the previous row.
- In the chain space, crochet two double crochets + two chains + two double crochets.
- Work a double crochet into each of the remaining stitches until you have one last stitch left and, in that stitch, work two double crochets to make an increase .
Repeating laps
Repeat rounds 2 and 3 until you have the bandana size you are happy with. For the bandana pictured, I knitted 13 rounds in total.
Laces / Laces
- When you have finished crocheting the last row, chain until you have the length you want your loops to be. In this case I have chained 50. Then chain one more and start crocheting into the second to last chain and backwards until you reach the base of the bandana or shawl. This should leave you with a finished cord.
- At the base of the bandana or shawl, crochet three single crochet stitches in each red or blue space and one single crochet stitch in each white space until you reach the other end of the bandana or shawl.
- Don't cut the thread but use a marker to hold the stitch and leave it on hold.
- Use the thread you set aside at the beginning and hook it into the stitch just below the one you left waiting.
- Make the same number of chains as you did for the previous loop and when you have finished make another chain and pull the thread to close the stitch. Finish the end with a tapestry needle.
- Then, pick up the stitch you left on hold. Crochet a single crochet in each chain until you reach the end. Cast off the last stitch and fasten off the end.
That's it! You now have your bandana.
This is how Marcel was showing off while walking with his. He received a lot of attention and several compliments :)
 |

|
I hope you are encouraged to do this project. Remember that you can click on the links in the materials section to buy any of the materials mentioned in our store, Lanas Llamas.
I hope you enjoyed this post. If you've decided to do the project, share it with us on Instagram, Facebook, or send us an image to our email. We'd love to see your final result.
