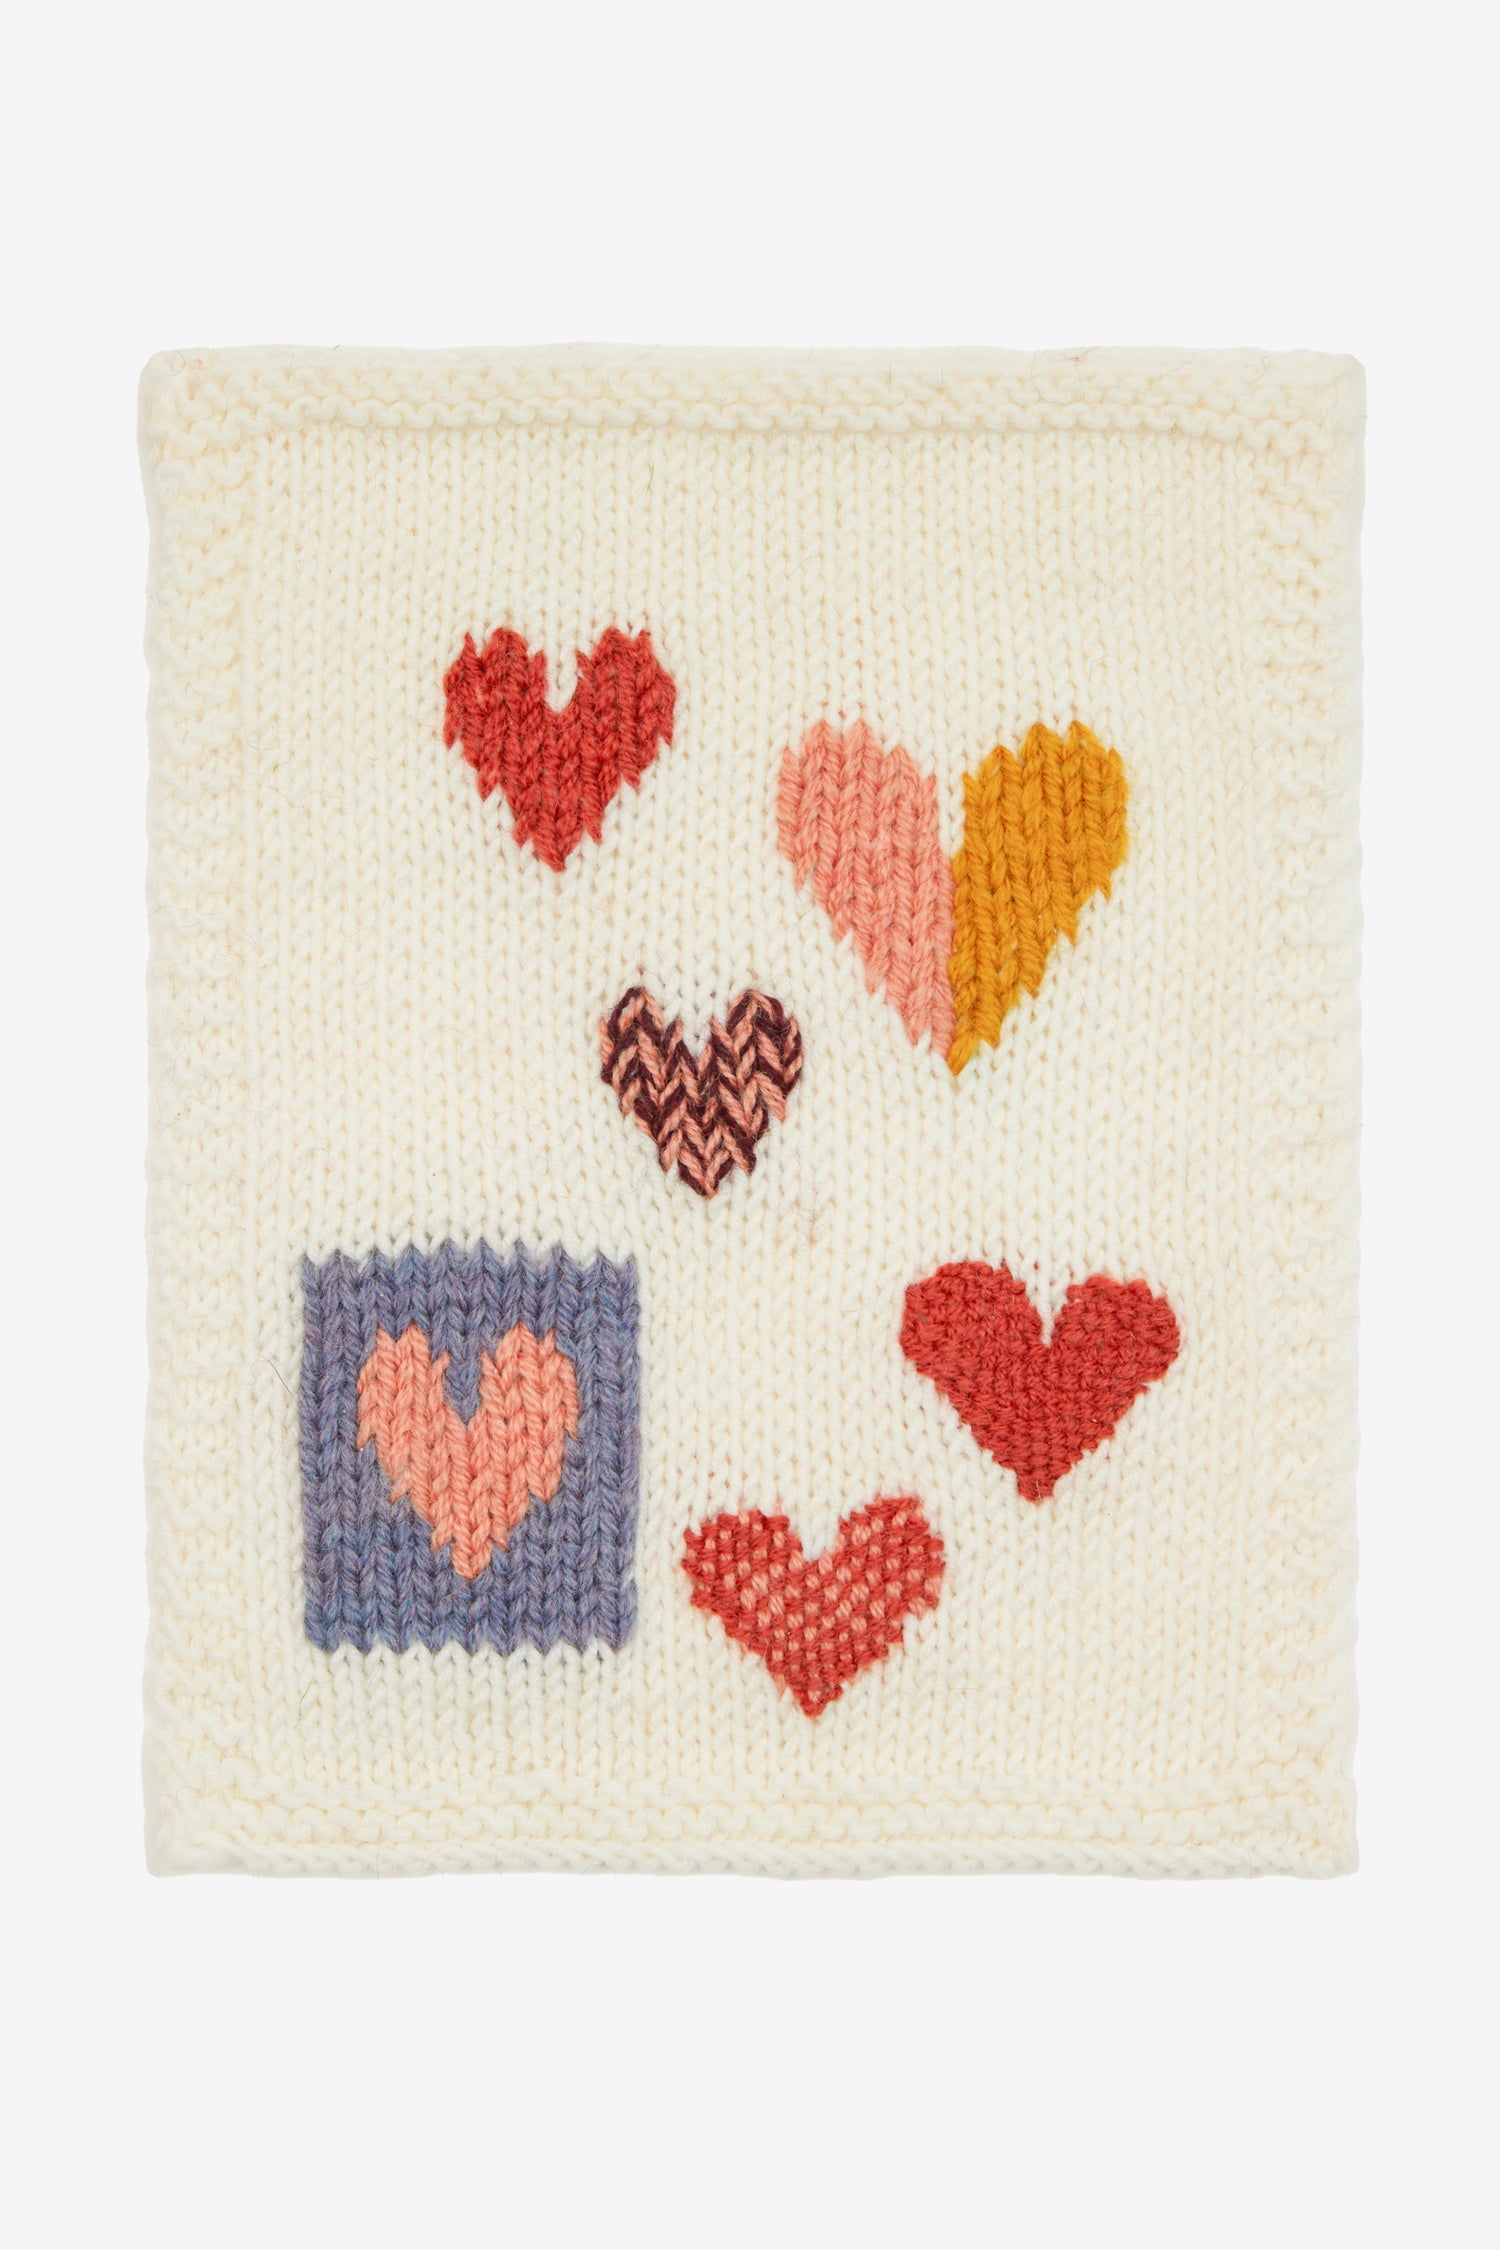
Bring your knitwear and accessories back to life with this heart-shaped darning chart! Ideal for repairing holes or simply decorating non-defective knitwear.
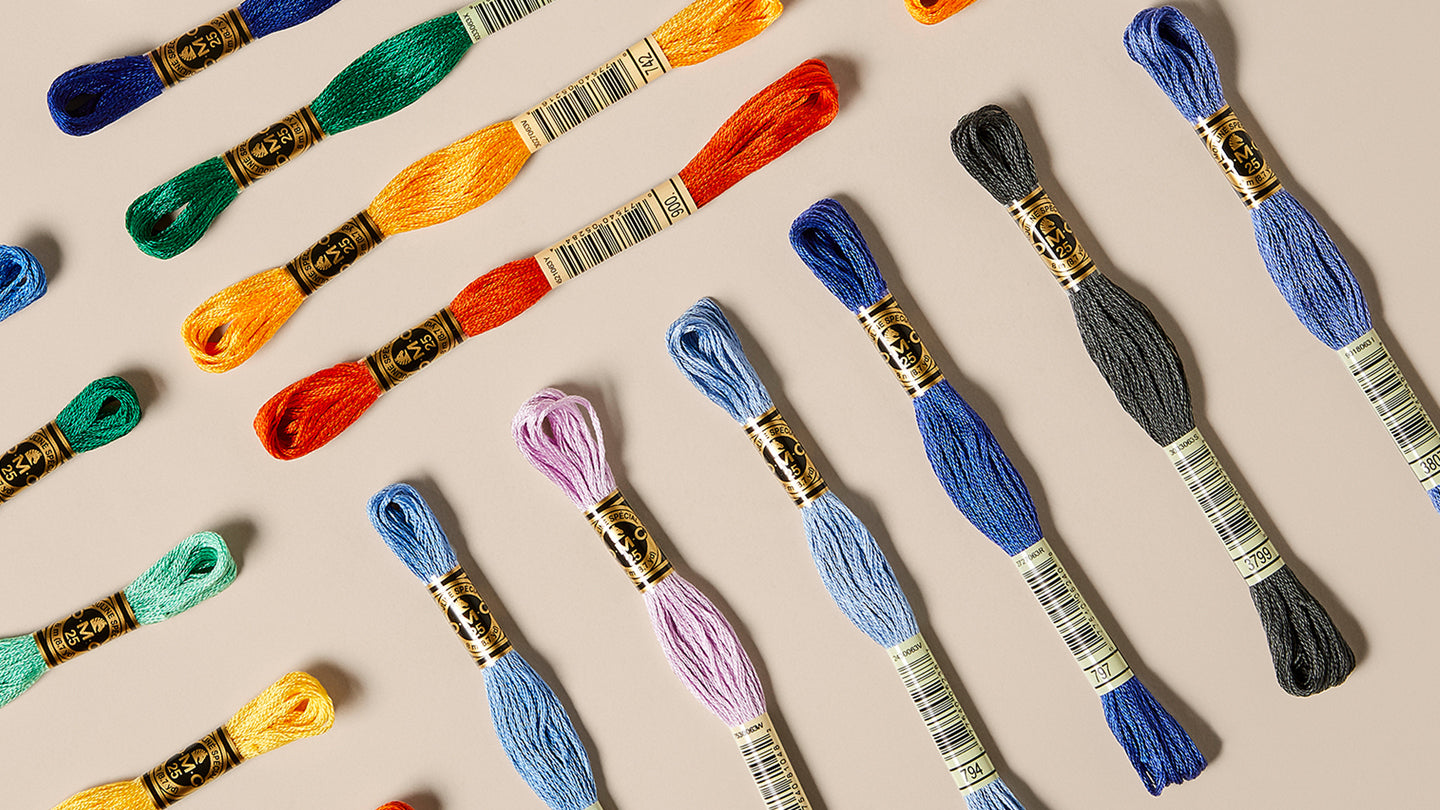
Use DMC Eco Vita thread and a darning needle.
Download the free pattern and have fun!
The pattern offers you two different darning techniques. "Duplicate stitch" or duplicate stitch, and "woven stitch" or woven stitch. Choose the technique and color you want to use. For example, the red top left heart is marked A1. That is, technique A (duplicate stitch) and color 1 (red 305). Use a darning mushroom or an embroidery frame and tighten the area you are going to work on. You can also use a tennis ball or anything else you have on hand. Introduce the needle from the face of the fabric towards the verso, leaving a few centimeters of separation with respect to the area you want to work, and take it out again in the area where you are going to darn. Leave a tail of thread hanging to finish off later.Then, follow the strands of the original fabric. That is, follow the front leg of your original stitch with the needle and loop the needle around the top loop. Then follow the needle down the back leg of your original stitch and loop it around the bottom loop (figure A).
When you reach the last stitch, follow the back leg of your stitch down with your needle, and instead of looping the needle around the bottom loop, insert the needle through the middle of your original stitch up to begin the next row.
Continue like this until you get the desired shape. Introduce the needle from the face of the fabric towards the verso, leaving a few centimeters of separation with respect to the area you want to work, and take it out again in the area where you are going to darn.
Anchor your thread in a stitch next to the hole. Take your needle to the other side of the hole (from right to left) and anchor your thread on that side as well. Continue with the needle towards the top row to change direction and follow the same anchoring process until the hole is covered. You should have horizontal courses across the entire surface of your hole.
Then do the same but in a vertical direction, interlacing your thread with each second thread that you had left in a horizontal position (figure B).
Do the same on the back of the garment to finish off the threads. Search the names of each technique on YouTube and find explanatory videos that can answer your questions.
We hope you have a lot of fun darning into heart shapes!